
You know about them and most probably they have troubled you at some point. They are large spreadsheets in Microsoft Excel that sometimes result in ridiculous file sizes. They cause a range of issues to users. They’re difficult to email to colleagues or customers, take forever for your computer to open, and always need updating every time you change the value of a single cell (which wastes away precious work-time). But why are these files so big? If it’s shared with classmates or friends who may not know better tricks than what came packaged from MS Office; then you’ll likely never find out when things will stop being frustratingly slow!
Can the File Size of an Excel File be Reduced?
Excel is one of the most popular and widely used software for analyzing, visualizing data sets. Unfortunately, saving small chunks of data or deleting unused files can quickly make your file size grow over time to a point where it starts slowing down your computer. Fortunately, if you’re willing to put in some extra effort there are many things you can do on Excel’s own interface that will reduce its overall size!
It is important to have a small size of excel file for both technical and design reasons. The first reason is loading time; if your Excel document has a large size (2 MB or larger) you will notice reduced performance, longer load times, and unresponsiveness among other issues. All this can be avoided by making it smaller in data size.
Ways of Reducing File Size in Excel
1. Delete Unused File Data
By removing unused data, you can drastically reduce the size of your Excel file. By identifying what parts are unnecessary, you may remove them and make files a lot smaller. It might not seem like much now but over time this will save you dozens or hundreds of megabytes on storage!
For instance, if you write something in cell A100000, Excel will take the used range as being from cells A2 to B1000000. This greatly increases file size and can cause other issues with your spreadsheet’s performance like slowdowns when scrolling or editing large ranges of data on-screen at once.
Excel remembers the data you delete and will continue to use it as a range. Deleting temporary ranges that are not used can help reduce file size, but be careful because if for some reason your deleted cells come back into play then they may overwrite other important information in your sheet!
2. Delete non-essential formulas and calculations
There are a lot of reasons why files grow so much in Excel. One major reason is the excel function, which takes up memory and CPU time for calculations. They engage the memory with these equations, making it an even bigger file if there are too many complex formulas on your worksheet that need to be calculated from scratch each time you open them up again. However, there is another way around this problem by using VBA subroutines instead; remove all those pesky formulas from your spreadsheet workbook, then let the program do its thing without having to re-enter anything manually into cells!
This will make things lighter than before as well since they won’t have any tedious computations happening when opening or closing a document at any time.
3. Remove Unused Hidden Sheets
When you work on Excel for a long time, it’s not uncommon to create temporary sheets that are required only for the short term. But when one is done with them, they can often get forgotten about and this makes the file size much bigger than necessary! To avoid these hidden sheets from adding up too big in your current spreadsheet files, try identifying those unseen worksheets so you can remove them altogether. This will help decrease the total amount of space taken up by your document as well as its overall load times which is something everyone could use more of nowadays!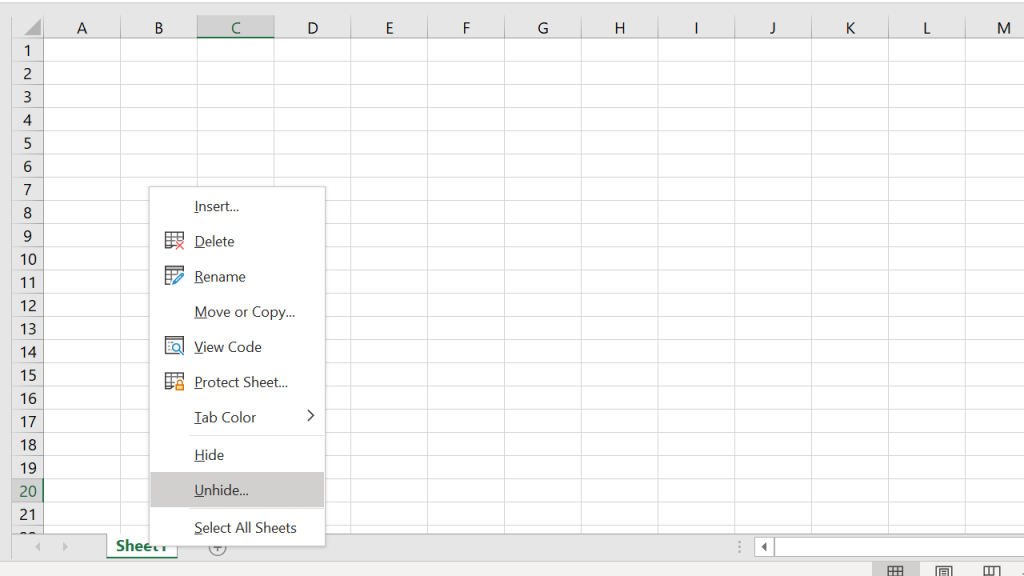
4. Eliminate Unused Charts and Pivot Tables
Excel has a great way of organizing data. That’s because you can create pivot tables and charts to make your work easier. But if the chart or spreadsheet is only being used once, it may be better just for that one-time use instead of keeping them on your Excel file. The reason why is because they increase the size significantly which means more storage space is needed! So delete those extra files such as pivot tables as soon as possible so there isn’t any hindrance in speed while using excel later down the line when working with large amounts of information.
5. Remove Blank Spaces in Your Excel Sheet
Saving large Excel files comes down to two things. The first is the used range of your spreadsheet, and how far it’s gone from a simple A1 cell representation. Even if cells are blank or formatted in some way they may be included within this range for no reason whatsoever – making them part of the larger size even though all that information might not actually need to exist at once on-screen. Secondly, there’s always going to be an issue with old workbooks where you can’t go back and edit previous data because past versions don’t have Save As capabilities like newer ones do (you’ll just see “Save” instead).
A common problem when working with excel: file sizes seem too big despite mostly being empty space.
If you press Ctrl + End on any sheet in your Excel file, the last used cell’s location is revealed. If that shortcut takes you many rows (or columns) past the end of your data, it means all those cells are increasing file size for no reason! Here’s an example: If I’ve got data that goes until column F and row 11 so I should expect to see a range ending at one of these two locations even if there isn’t anything in a specific particular cell.
Fixing the “Used Range” in Excel
To shrink the used range to the cells you’re using, simply delete any blank rows or columns:
To do this quickly via shortcuts keypress Shift+Space for the current row and Ctrl + Space for the current column. Press Ctrl+Shift + Arrow down (or left) to go all the way to the bottom of the sheet while keeping your cursor in the top-left corner. Right-click on a cell within that area and select Delete from the context menu not just pressing the button itself as it will clear contents only but won’t work if there are no other sheets available!
6. Use Binary Format (.xlsb) When Saving Files
Ever had a file that was just too big? Well, in the case of an Excel File with lots of raw data and formulas, you can quickly reduce it by converting to .xlsb format!
Saving your files as .xlsb can reduce file size up to 50%, but this will vary depending on the data in your Excel document. It is best practice, though, because it means you don’t have to worry about the loss of functionality or macros and VBA when saving a workbook with lots of formulas.
7. Avoid Formatting On Raw Data
It can be tempting to format your spreadsheet with colors, fonts, and borders – but this only increases the file size. And for a workbook that will not ever be viewed directly? It’s often a good idea to remove formatting from raw data before you load it into Excel. That way, the file size is smaller and your computer can work faster when pulling up that information.
8. Check on the Ranges of Conditional Formatting
Conditional formatting is used by many people with Microsoft Office products such as Word, PowerPoint, Access databases, and more, for visualizing comparisons between different conditions within their dataset; however, these formats may also significantly increase file size on your computer.
Conditional Formatting is a fantastic tactic for visually comparing any changes in number data ranges, but it can come at a heavy price – bloated Excel files! One mistake you could make is applying formatting to an entire sheet or column. To avoid this problem go through Conditional Formatting > Manage Rules and check the cell range of each rule then limit them only if necessary.
Saving calculation time
If you’re dealing with a large file in Excel, then you’ll eventually end up with a workbook that’s full of formulas. You may not notice how long it takes for the program to recalculate as soon as an input is changed–until your data has hundreds and thousands of calculations going on at once when suddenly calculating becomes laborious because there are so many variables to consider simultaneously.
1. Disable Automated Calculation of Formulas
If you’re tired of wasting time calculating formulas, then go ahead and disable them. When the calculation is manual, you can force a recalculation for all your sheets by pressing F9 or Shift +F9 to calculate just one sheet.
When you select manual, you might notice some strange behavior; if you edit a cell with a formula and press Enter, it will calculate as usual but the previous result won’t be displayed until after pressing F9 or changing back to Automatic in Calculation options. And if you want just one of your formulas updated without having to change the calculation option manually again afterward (e.g., because it has an error), first select any cells with other formulae on them; then edit the relevant cell (using F2); hit enter and watch how this particular single-celled formula calculates while all others stay fixed at their last calculated values!
2. Check on Specific Cells Using the Watch Window Option
One of the most important features of a spreadsheet is being able to draw attention to cells that you want to keep an eye on. By using Watch Window, users can place any information they need within easy reach without having it interfere with their work elsewhere. Simply click Add Watch and select which cell or value should be monitored closely from then onwards by clicking on its Value text box at the bottom left-hand corner of each column as required. Regardless of what sheet is active, the values will always appear.
Optimizing your Excel Formulas
Aside from directly shrinking the file size, use the following tips to optimize your Excel formulas for them to run faster:
1. Don’t use Volatile Formulas
The following seven functions (volatile formulas) in Excel calculate every time a cell is updated and should not be used:
- NOW()
- RAND()
- TODAY()
- CELL()
- OFFSET()
- INFO()
- INDIRECT()
2. Don’t Reference Entire Columns or Rows
Instead of using a VLOOKUP() or SUMIF() functions to look up an entire column, use =SUMIF(A1:A100, $C4, B1:B100) instead of =SUMIF(A:A, $C4, B:B)
3. Use Excel Tables or Pivot Tables
Excel is a powerful tool for data analysis. It’s important to try different types of tables and charts, but it may be more effective to use pivot tables in this case because they are designed by Microsoft so that the spreadsheet responds quickly. If you include formulas within your table, any calculations will contribute less file size than when there was just one calculation on an entire spreadsheet with many cells or columns.
4. Don’t use Repeated Calculations
If you have complex formulas in Excel, reducing the number of cell references is worth your while. When this happens, it can help improve performance and accuracy issues that may arise with functions such as SUMIFS().
Consider this example:
If you have a formula containing ‘=$D$5+E$5’ and you copy it to one hundred cells, there are two hundred cell references despite the number of unique cells being only 2. But if F5 has that same formula with =D6 + E7 for example, then updating those 100 cells will refer to F2 instead of D6-F10 in order to reduce this number by 50%. And so excel only needs to calculate D4+E9 once as opposed to 1×100=200 times!
5. Sort Your Data
It’s quite quick to get what you want when browsing through the alphabetized cabinet. Now when using excel functions that look for a specific value such as VLOOKUP(), MATCH(), INDEX(), or SUMIF(), your excel sheet will calculate quickly if the data is being searched has already been sorted.
Bonus Option: Transforming .xls/.xlsx File Extension
.xls/.xlsx can be treated as .zip files and renamed without issues due to the way they are sorted. You can follow the following process to change file extension:
1. Navigate to your file in Windows Explorer, and change the filename from .xls/.xlsx to .zip.
2. Unzip the file as you would any other zip folder, revealing a few folders with an XML document inside them. 
3. Zip up those files into a new zipped folder before changing back to the original extension of either .xls or .xlsx.
You are now all set to load your excel sheets much faster!
When you follow these steps, your file size will be dramatically reduced without losing any of the original data. You can use this approach to reduce the time it takes for a spreadsheet to load and improve Excel performance overall.


")
")